


DaveD
Well-Known Member
So I've been busy in the shed trialing my newly acquired Resin Infusion tools. The plan was to make a composite beam for a few reasons:
1) I can test it to see if it is as strong as the calculations say it will be
2) Good way to practice with the new equipment and methods and get some experience.
3) See if Carbon Pultrusions in a glass structure work out with resin infusion
4) See if I can infuse both sides of a cored structure in one hit
5) See how much it weighs / how good a fibre volume fraction I get.
6) See if the "fold up" technique will work for me - Using a flat tool and then folding into a channel when at "green" cure
Anyhow here's some photos:

PVA relaease on 6mm Alu sheet
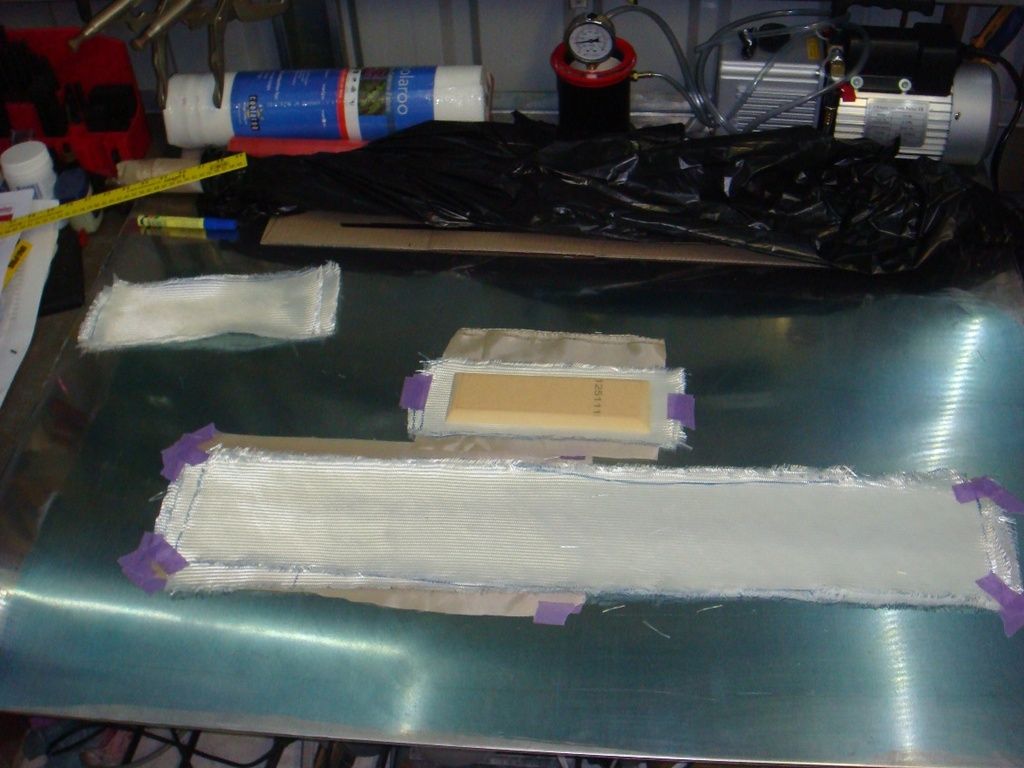
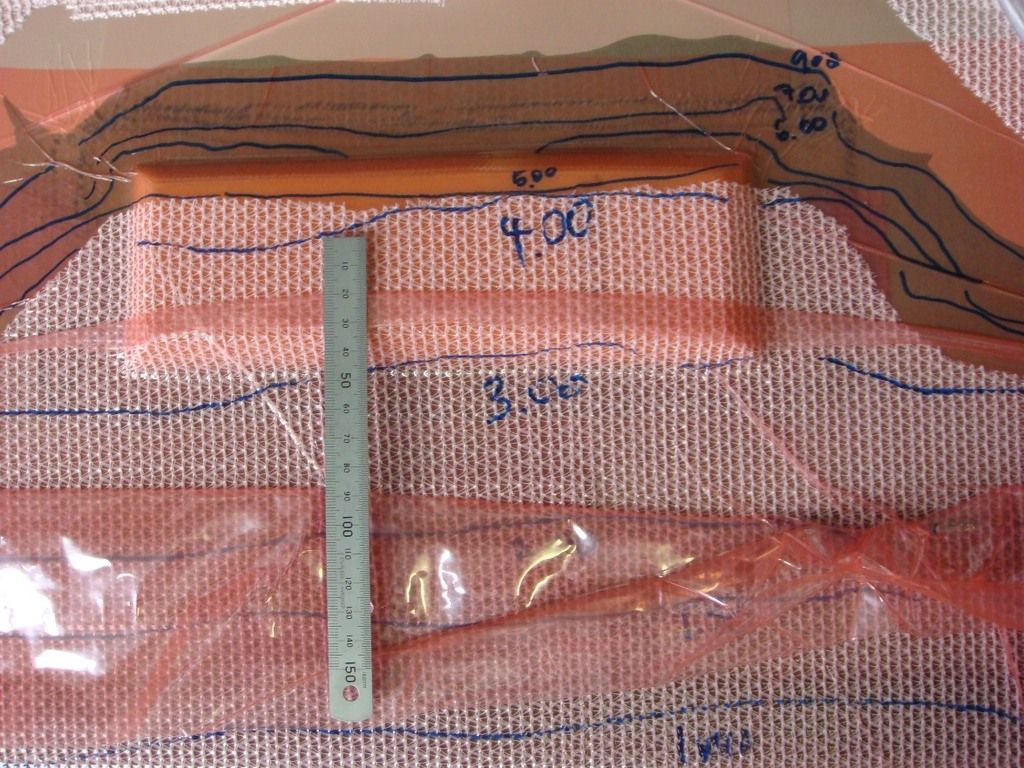
Glass on the tool (CF pultrusions are under the glass) 6 layers of 285g 2x2 twill
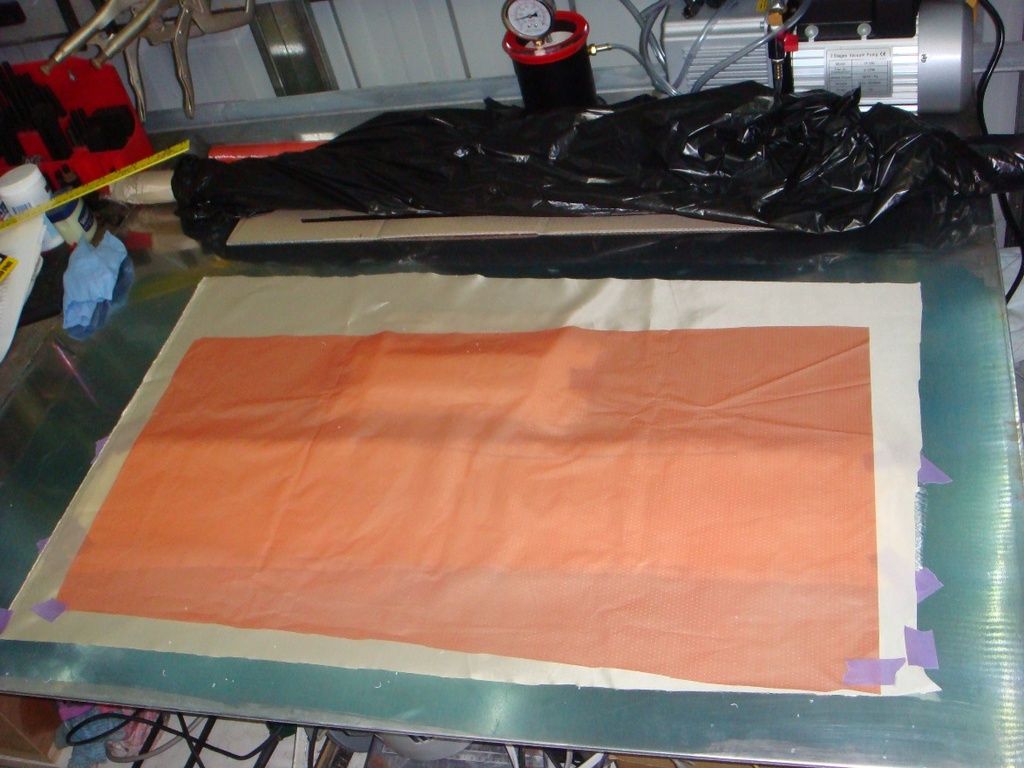
Peel ply and release film on.
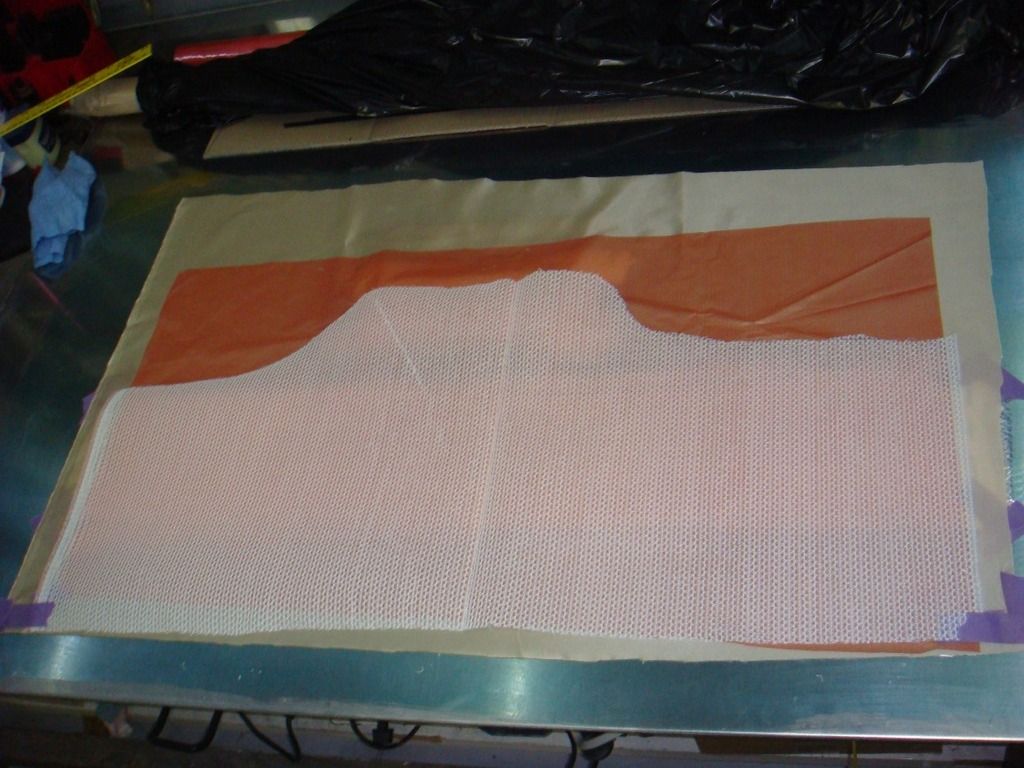
Shade cloth as a flow mesh
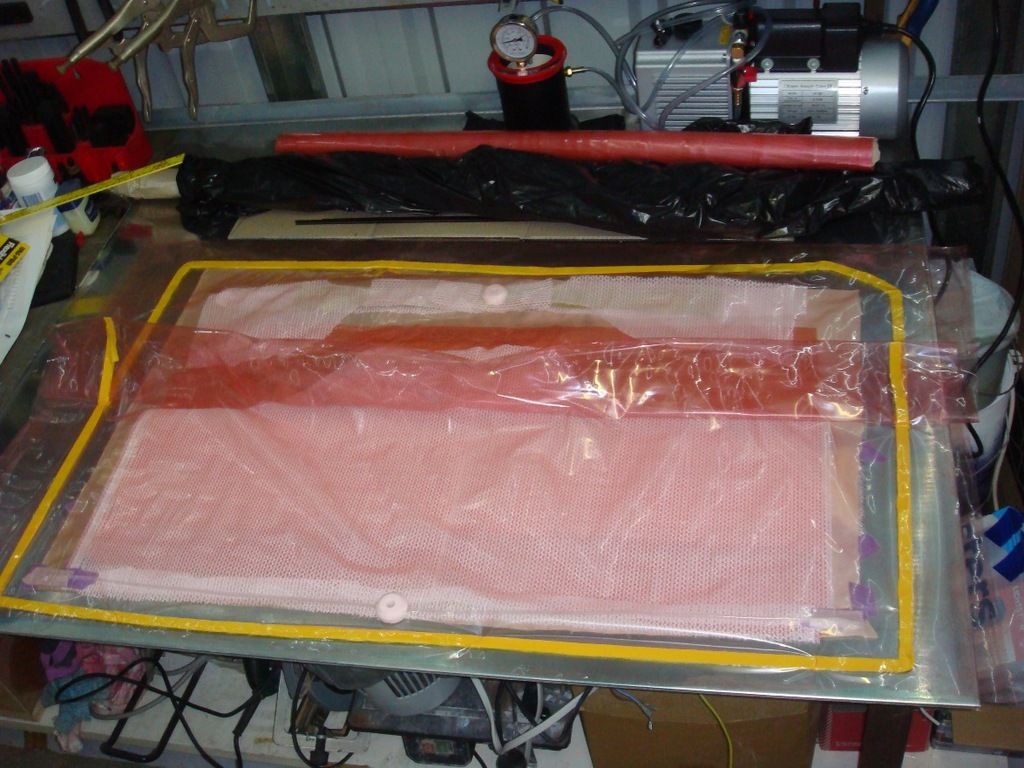
Bag on - Lesson learned - there should have been a pleat on the long side as-well as the short side to give the bag more slack!!
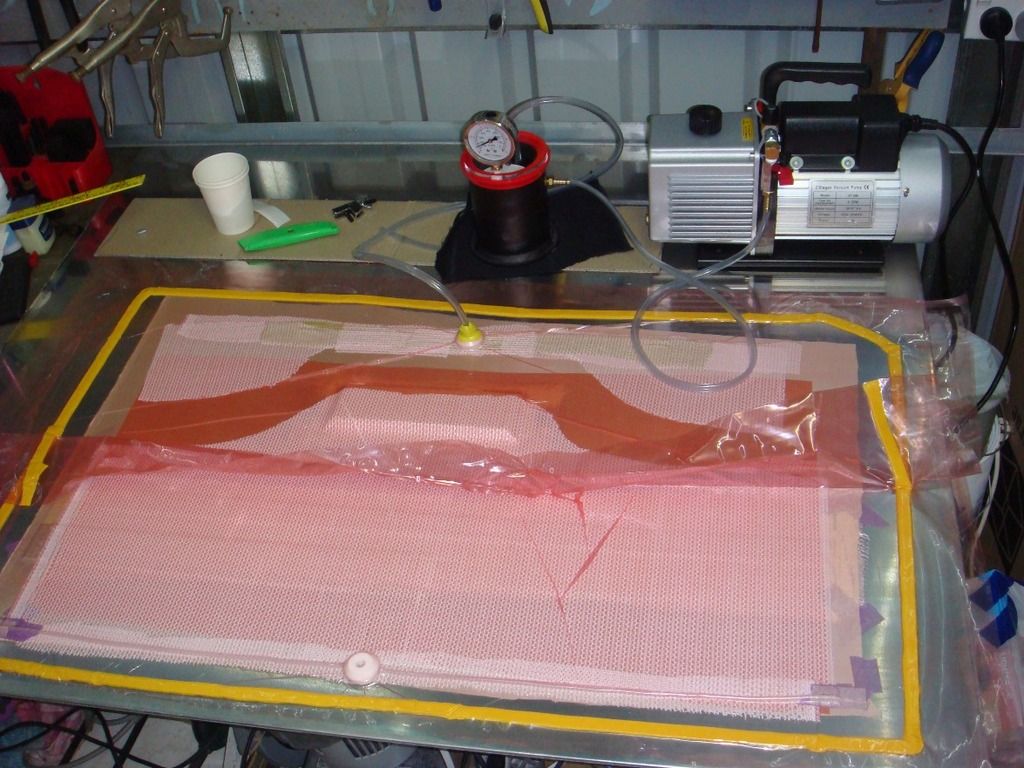
Vacuum pulled, gap between areas of mesh contained peel ply only and worked well as a resin brake
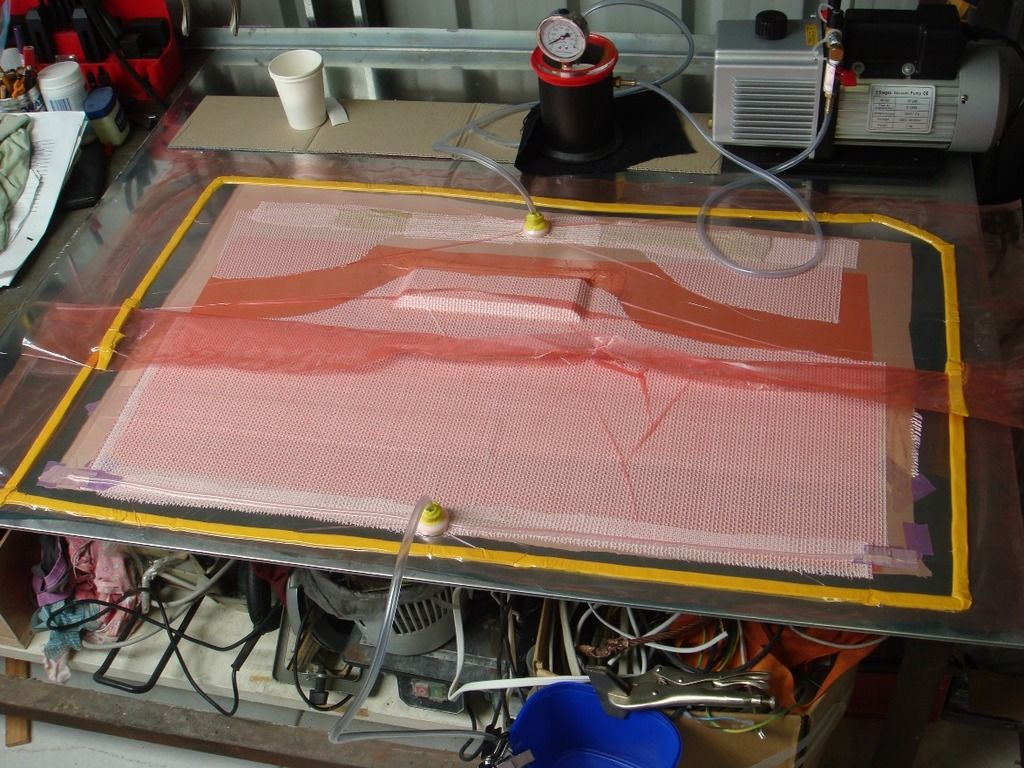
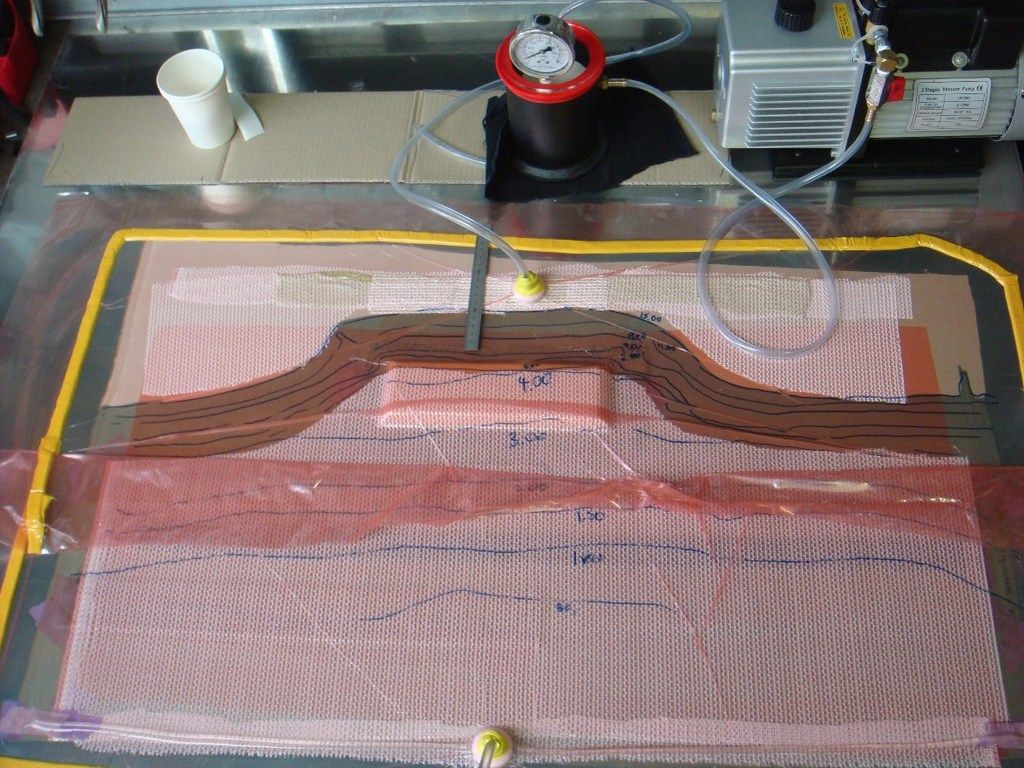
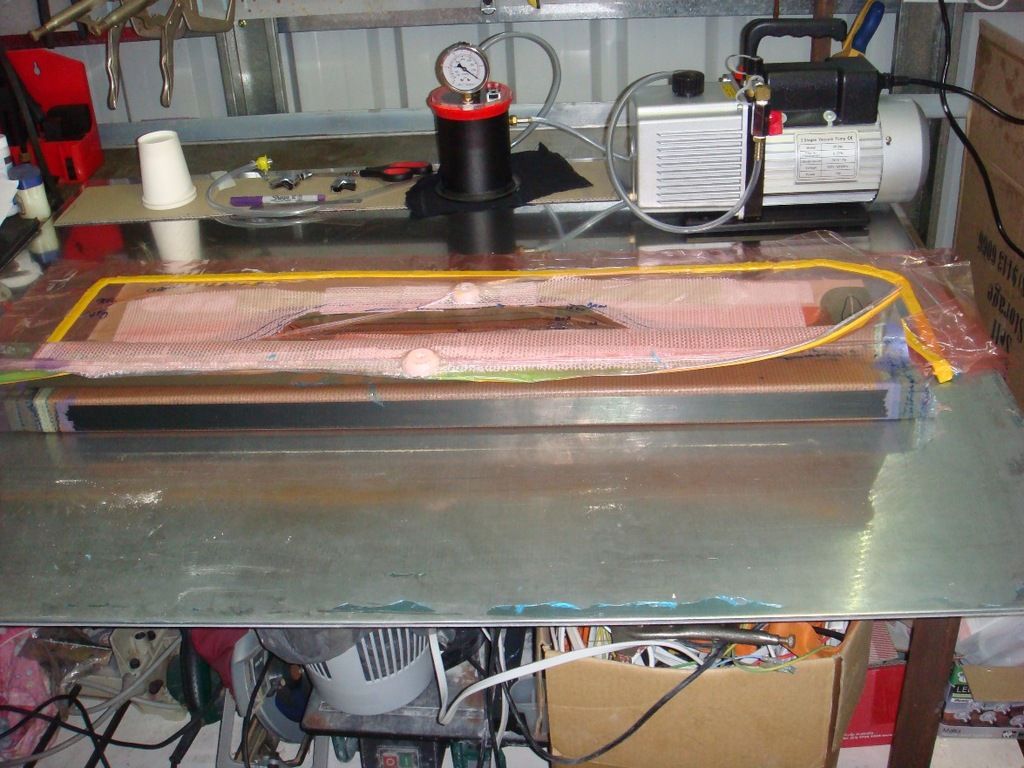
Resin feed setup. I got 730mm of vacuum which held for 24 hours with the pump off, so no leaks.
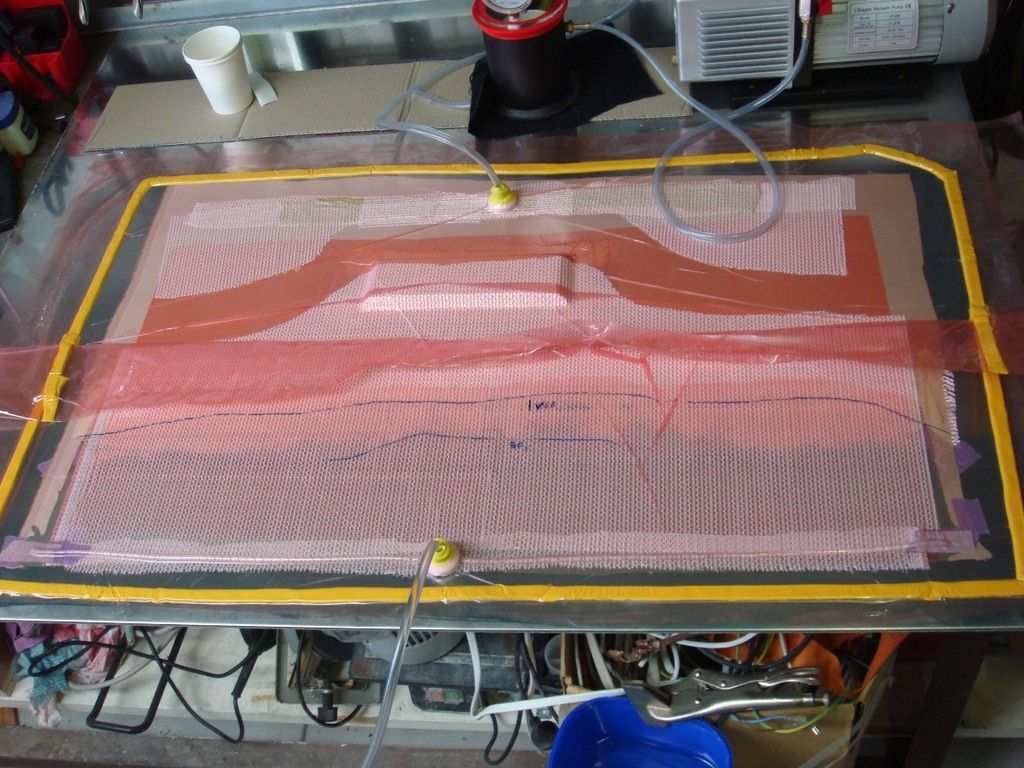
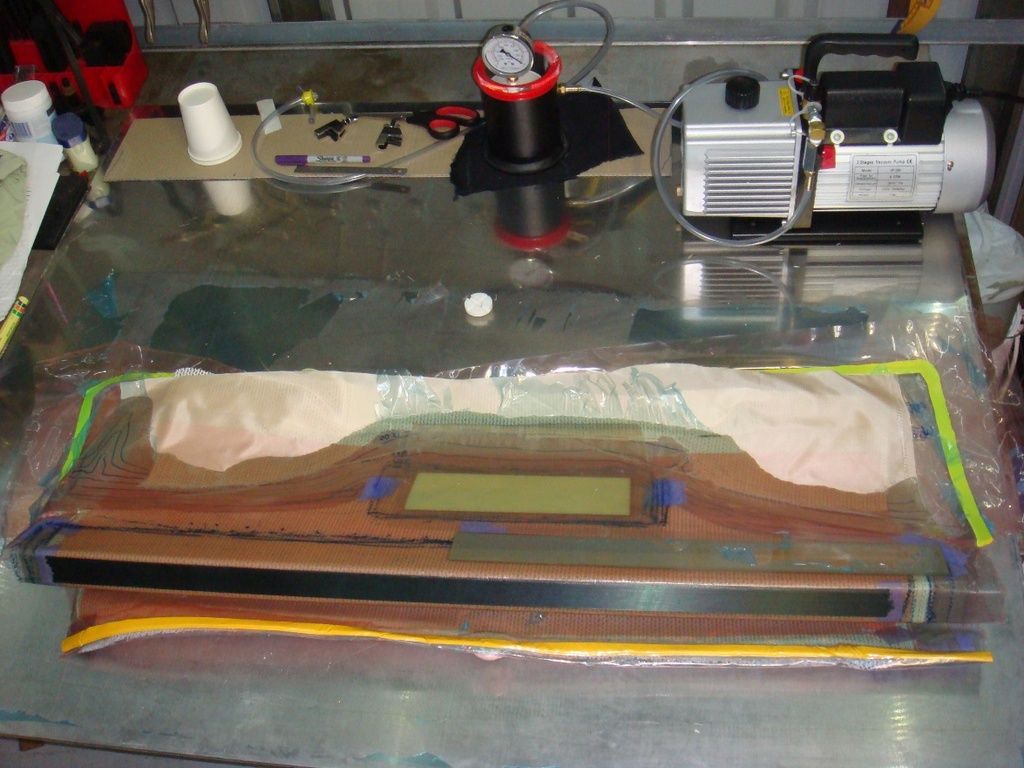
Infusion begins! I marked the bag whilst timing so I could see later how the resin progressed. This is about 00:01:20.
Well advanced after 4 minutes
Peel ply brake really slowed things down!! Pot life of this resin is 90mins so it wasn't even close to thickening.
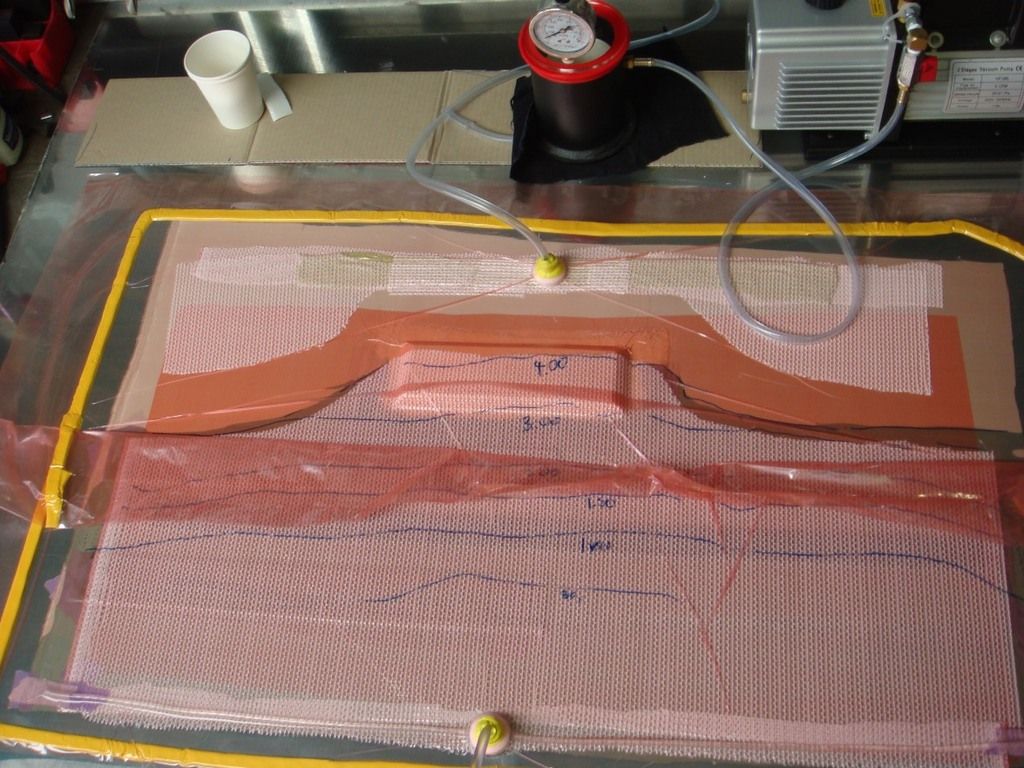
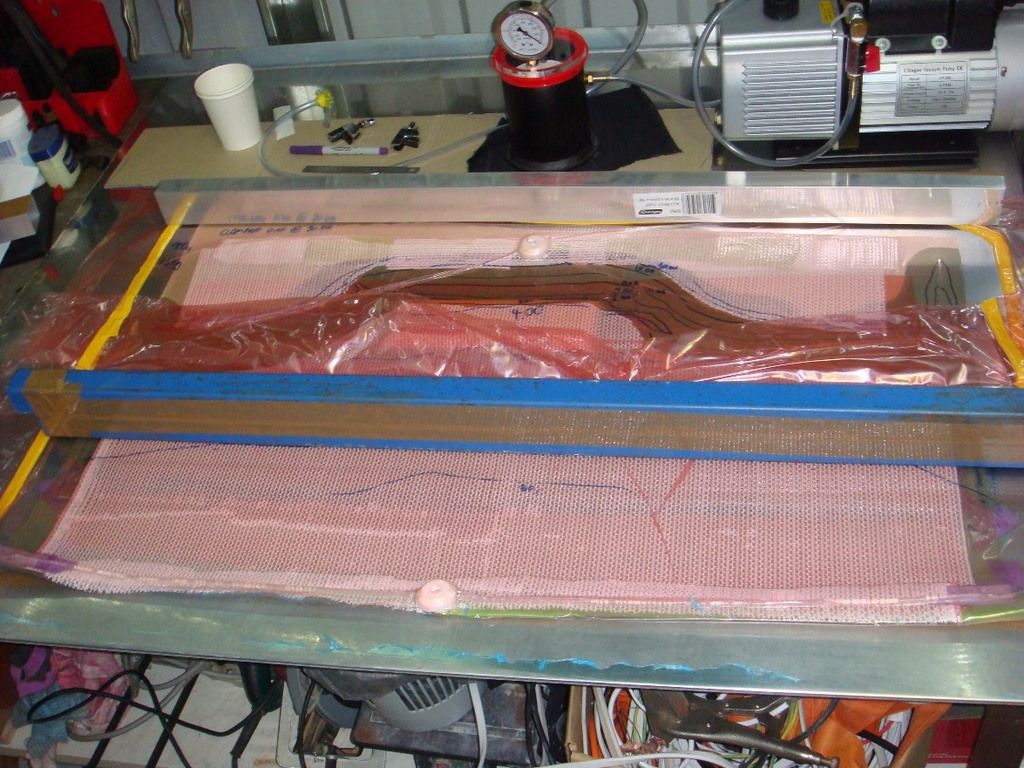
Done!
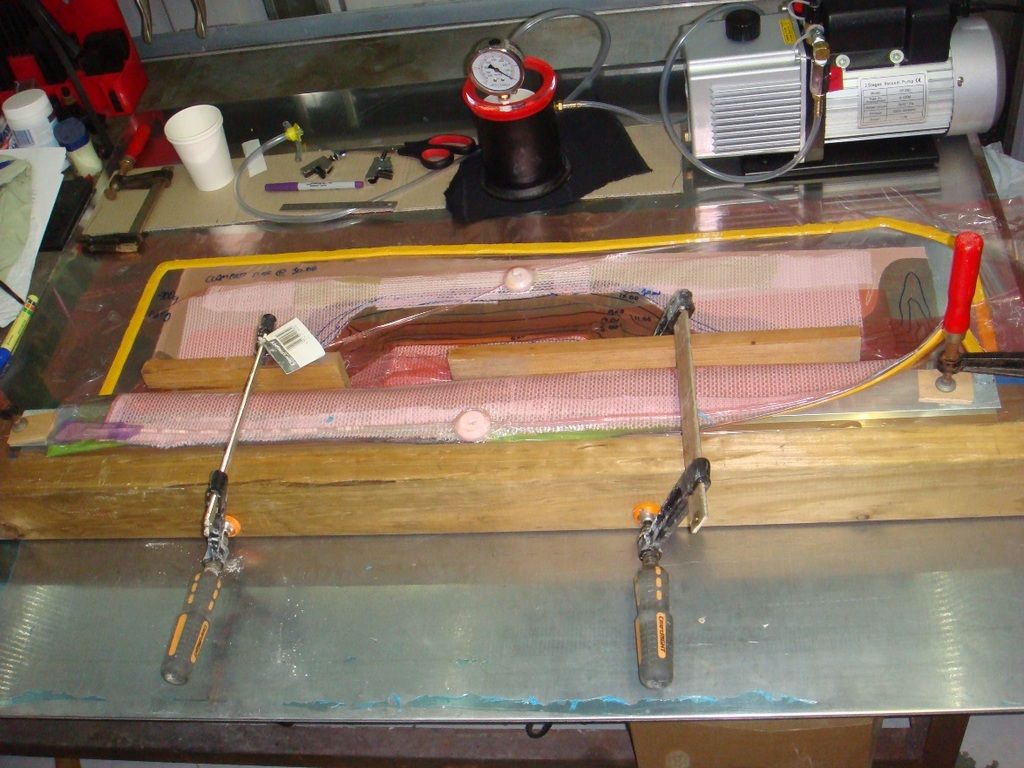
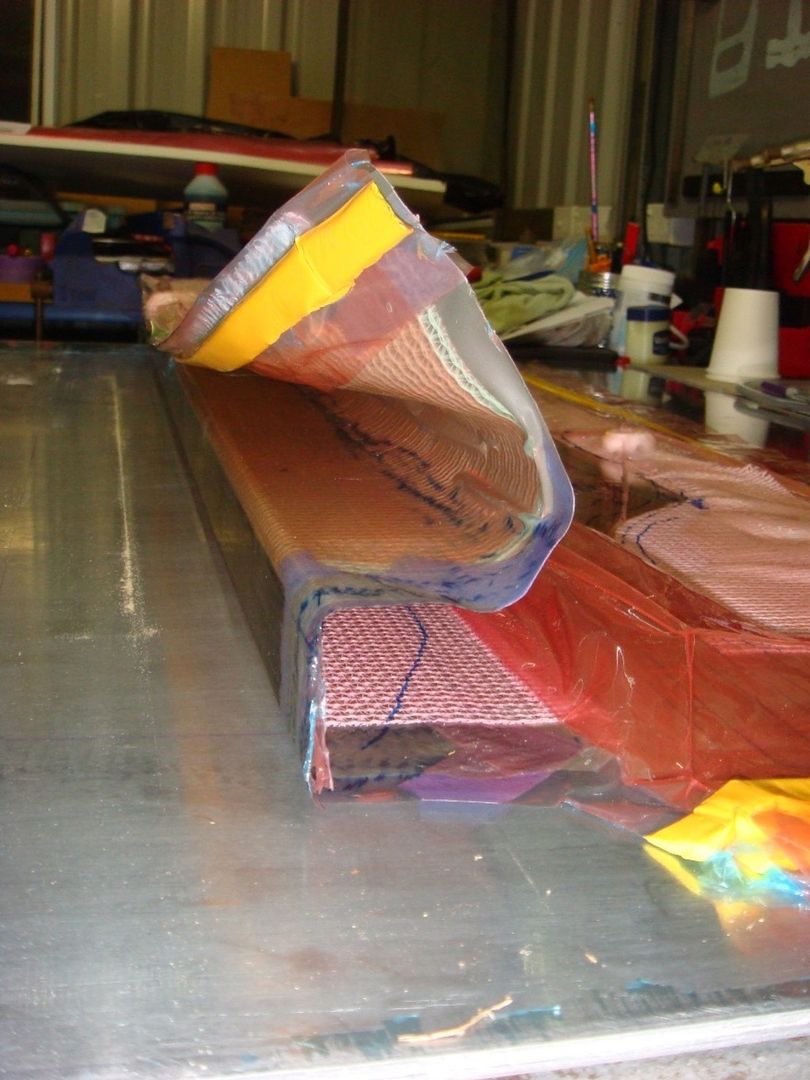
6 hours later - ready to fold up.
Resin Like taffy. part folded and clamped. This was a real pain to do, I think I went a little too early - should have waited a few hours more.
Fully cured, clamps removed
CF strips visible through bottom of part
Whole test layup removed from tool - small area of sandwich is at the back - tool to form joggle is on the right.
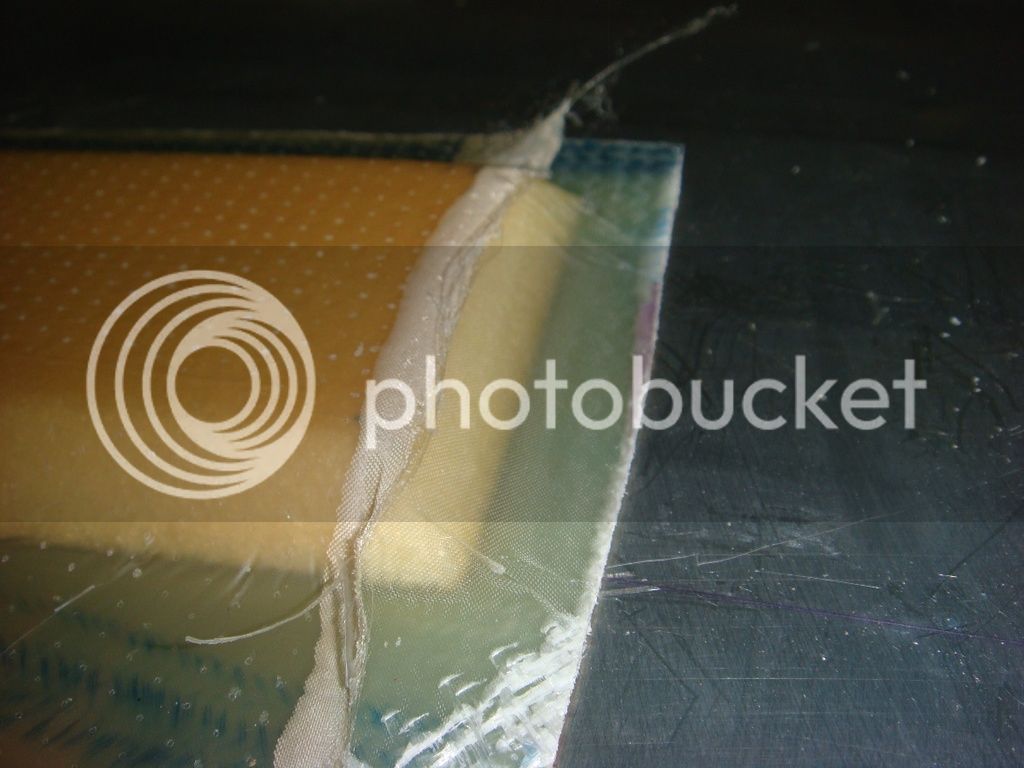
Bridging at the edge of the sandwich (due to not enough slack in the vacuum bag) and poor packing down of the reinforcement when I applied the vacuum.

Removing the joggle tool (brown tape covered cardboard)
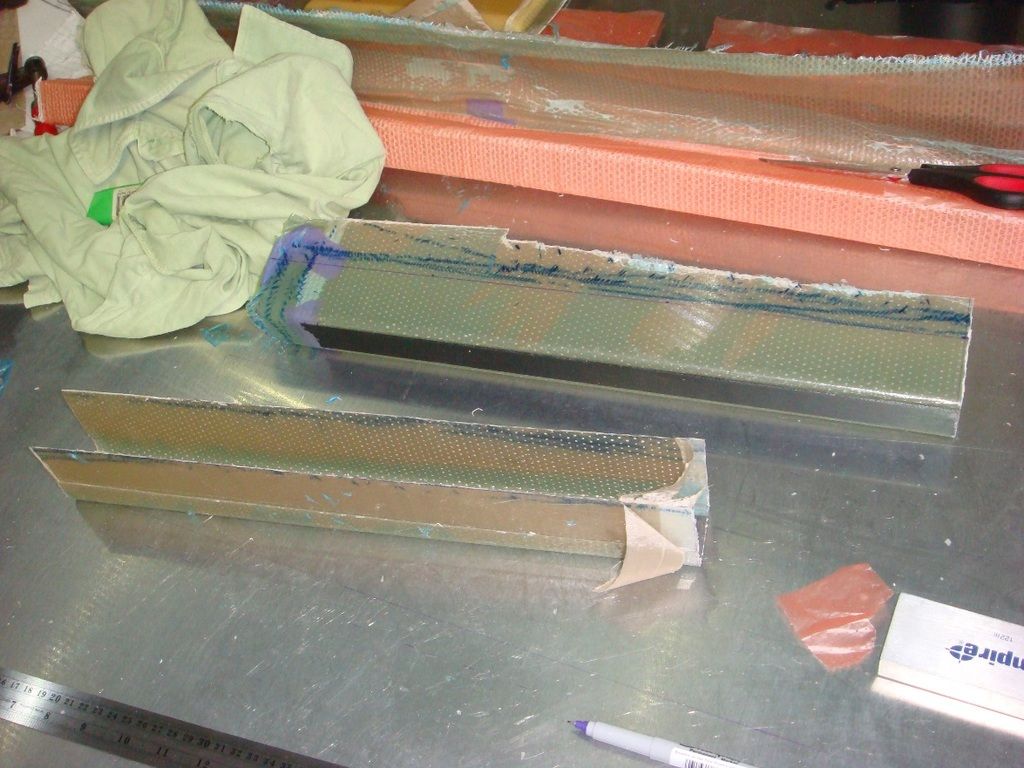
U Channel cut in half to form top and bottom of box beam
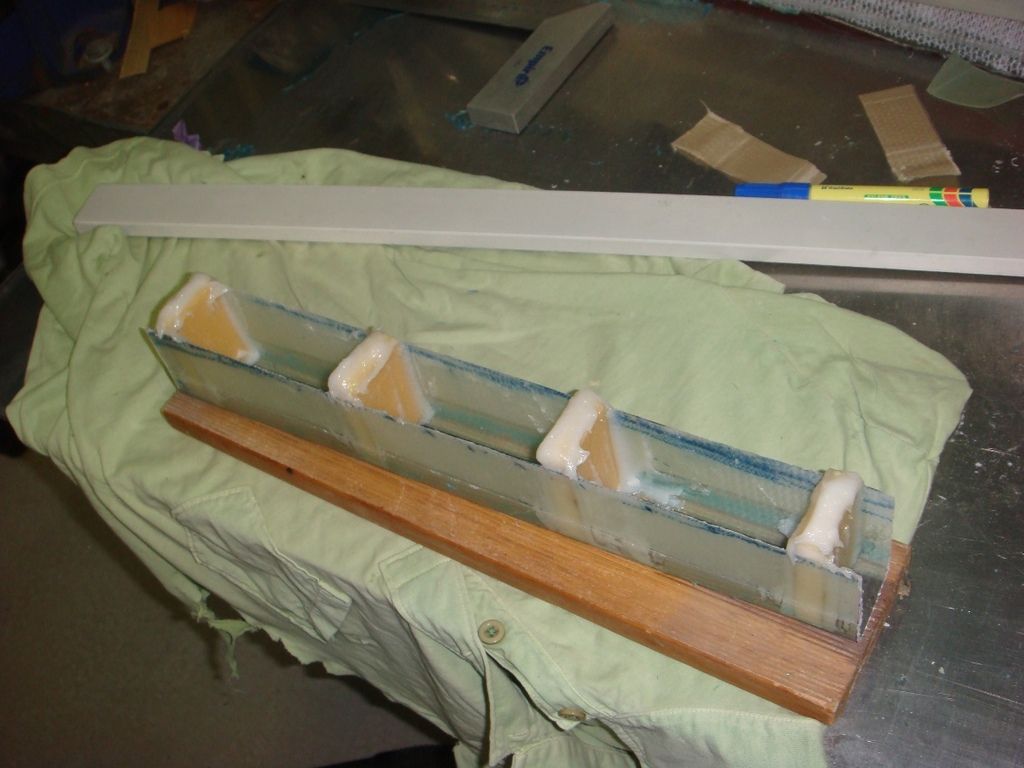
Ribs in ready to join (went a bit crazy with the flox, wanted a good join more than optimum weight!!) would have been a lot neater for a real aircraft part (honest)!
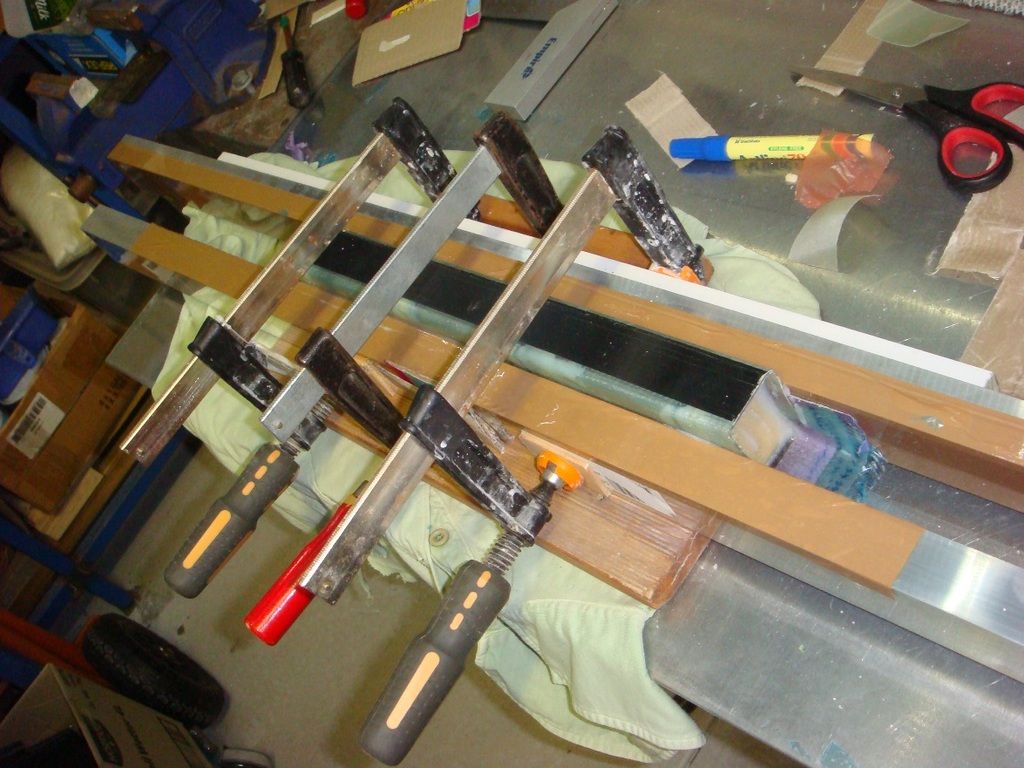
Final clamp up, we'll see how it comes out tomorrow!
1) I can test it to see if it is as strong as the calculations say it will be
2) Good way to practice with the new equipment and methods and get some experience.
3) See if Carbon Pultrusions in a glass structure work out with resin infusion
4) See if I can infuse both sides of a cored structure in one hit
5) See how much it weighs / how good a fibre volume fraction I get.
6) See if the "fold up" technique will work for me - Using a flat tool and then folding into a channel when at "green" cure
Anyhow here's some photos:
PVA relaease on 6mm Alu sheet
Glass on the tool (CF pultrusions are under the glass) 6 layers of 285g 2x2 twill
Peel ply and release film on.
Shade cloth as a flow mesh
Bag on - Lesson learned - there should have been a pleat on the long side as-well as the short side to give the bag more slack!!
Vacuum pulled, gap between areas of mesh contained peel ply only and worked well as a resin brake
Resin feed setup. I got 730mm of vacuum which held for 24 hours with the pump off, so no leaks.
Infusion begins! I marked the bag whilst timing so I could see later how the resin progressed. This is about 00:01:20.
Well advanced after 4 minutes
Peel ply brake really slowed things down!! Pot life of this resin is 90mins so it wasn't even close to thickening.
Done!
6 hours later - ready to fold up.
Resin Like taffy. part folded and clamped. This was a real pain to do, I think I went a little too early - should have waited a few hours more.
Fully cured, clamps removed
CF strips visible through bottom of part
Whole test layup removed from tool - small area of sandwich is at the back - tool to form joggle is on the right.
Bridging at the edge of the sandwich (due to not enough slack in the vacuum bag) and poor packing down of the reinforcement when I applied the vacuum.
Removing the joggle tool (brown tape covered cardboard)
U Channel cut in half to form top and bottom of box beam
Ribs in ready to join (went a bit crazy with the flox, wanted a good join more than optimum weight!!) would have been a lot neater for a real aircraft part (honest)!
Final clamp up, we'll see how it comes out tomorrow!